Exchange to Office 365 Migration Guide as Requested by Many Users
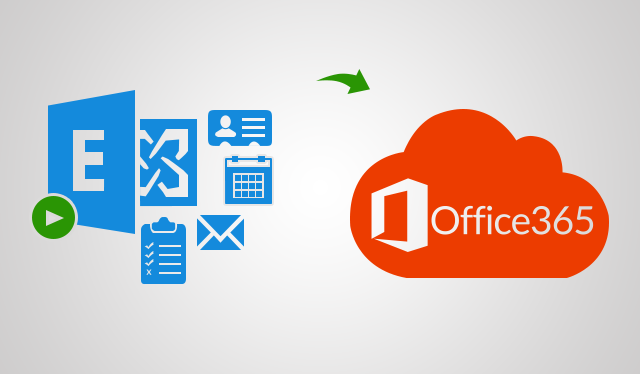
Exchange to Office 365 Migration Tool, the most recommended utility for internal deployment of Exchange 2013, 2016 and 2019 to Microsoft Office 365. Its rich set of features eliminates complexity and simplifies the entire task. The free demo version of the software allows you to test all key functions for free with complete guide.
Exchange to Office 365 Migration Guide – Advanced Features
- Easily Migrate On-Premise Mailboxes into Microsoft Office 365
- Software Exports Emails, Contacts and Calendar from Exchange Server
- Concurrent Migration: Go Through Migration in Batches
- Selective Data Migration: Date Filter and Category Based Filter
- Re-Run Migration: Try Migrating Failed / Skipped Items Again
- Delta Migration: Transfer New Data Arrived in Source Mailbox
- Migrate Sub-Domain User Data Also Using this Utility
- Operating System: Windows 10, Windows Server 2012/2016
Exchange to Office 365 Migration Guide – Know Features in Detail
Get detailed features explanation of Exchange Server 2013, 2016, 2019 to Office 365 Migration Software:
1. Simple Export Process – The software is designed using advanced algorithms and allows users to export all emails, contacts, and calendars to their assigned accounts in just a few steps. With this utility, you can move all the data from your mailbox to the Microsoft Office 365 cloud without losing any data.
2. Quick Migration Task – With this Exchange to Office 365 Migration Tool, you can speed up the whole process without any hassle. This allows users to transfer 20 users to Microsoft Office 365 mailboxes at a time. However, by adding multiple service accounts to the tool, users can increase the batch size of up to 200 mailboxes at a time. (Requires a highly configured machine with sufficient bandwidth)
3. Keep Folder Hierarchy Intact – The Exchange 2016, 2019 to Office 365 Migration Guide preserves the entire mailbox folder hierarchy throughout the process. That is, after the export process, the users will have the same folder structure in the destination mailbox. This software also maintains the integrity of the mailbox data.
4. No Mailbox Size Restriction – This advanced utility allows users to export Exchange mailboxes of any size. There is no mailbox size limit. This also allows users to forward large mailboxes from their O365 account.
5. Fetch or Import Users – This Exchange On-premises Office 365 Migration Tool has two options for adding users to your software.
- Fetch Users – This feature recovers all mailboxes created by Exchange Server with one click.
- Import Users – This option allows you to import a CSV file containing the user IDs of the mailbox sender and destination.
6. Migrate Data from Sub-Domain Users – This Exchange to Office 365 Migration Tool consists of a number of great features. Another feature is that users can migrate data from mailboxes created in subdomains. This is an optional feature, so users can enable or disable it as needed.
7. Selective Data Migration – The software provides two filters. These are explained in detail below.
- Date-Filter: You can export data for a specific period of time.
- Category-Filter: This option allows users to forward only the mailbox items they need.
Also Read: Exchange Server Disaster Recovery Plan using DAG
Exchange to Office 365 Migration Guide – Working Steps of Tool
Automated solutions make complex tasks easier and more efficient. Exchange 2013, 2016, 2019 Migration to Office 365 Accounts, This software makes the entire export operation much easier. The option to do the work in bulk actually speeds up the process.
1. Download and Install this software on your Windows operating system and launch it

2. Select the Source and Destination options and apply filters as needed

3. Enter the correct Exchange Administrator Credentials, then enter your Office 365 Administrator ID

4. Finally, when all the validations are complete, press the Start Migration button.

Final Words
After receiving hundreds of inquiries from users, this article provided a detailed Exchange to Office 365 Migration Guide. Users can use this trusted third-party utility to export data seamlessly. This is simple and easy-to-use software that can ensure complete data migration without data loss.
Related Posts


